
Choose the Right Glue for Furniture Repair with Confidence
Chosen theme: Choosing the Right Glue for Furniture Repair. Whether you’re tightening a loose chair rung or rescuing a buckled veneer, the right adhesive turns a frustrating project into a lasting fix. Explore clear, practical guidance, real shop stories, and pro tips—and join the conversation by sharing your favorite go‑to glue.
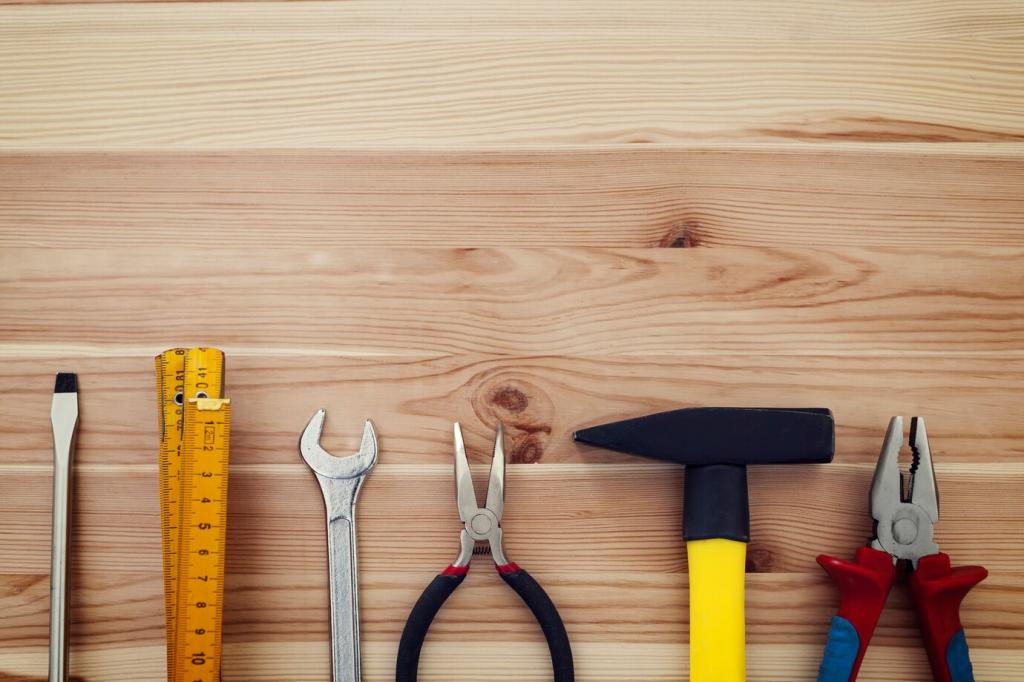
Meet the Glues: What Each Type Does Best
PVA (wood glue) for everyday joinery
PVA is the friendly workhorse for tight, well‑fitting wood joints. It cleans up with water, bonds strongly to bare wood, and cures reliably under consistent clamping pressure. Avoid using it to fill gaps, and remember most PVAs prefer room‑temperature shops to reach full strength.
Hide glue for antiques and reversibility
Hot or liquid hide glue offers strong bonds that can be reversed with heat and moisture, a gift when repairing heirlooms. It grabs fast for tasks like hammer veneering and accepts finish beautifully. If your piece may need future work, reversibility is a major advantage.
Epoxy and polyurethane for gaps and tough jobs
Epoxy excels when joints are imperfect, filling gaps and bonding to wood and many materials. Polyurethane foams and requires moisture, which helps in certain situations but demands careful clamping. Use either thoughtfully, prioritizing sound joinery, cleanliness, and accurate mixing for reliable results.
Strength, Flexibility, and Creep: Balancing Real‑World Forces
When flexibility saves a chair joint
Chair joints flex as people sit, shift, and scoot. A slightly flexible adhesive can tolerate micro‑movement without letting go. Hide glue’s toughness and repairability shine here, while certain PVAs offer workable flexibility. Tell us about your trickiest chair save and which adhesive made it last.
Understanding ‘creep’ in PVA adhesives
Some PVAs can slowly move under long‑term load, a behavior called creep. For shelves, laminations, or veneering, choose low‑creep formulations or alternative adhesives. Reading labels carefully helps you avoid subtle, slow failures and keeps your repaired furniture true and stable for years.
Brittleness versus toughness in real life
Brittle glues can crack under vibration, while tough ones absorb shocks. Epoxy offers excellent toughness; thin cyanoacrylate can be too brittle in structural wood joints. Match the adhesive’s mechanical behavior to the part’s stress, and share your test‑and‑learn moments with our community.
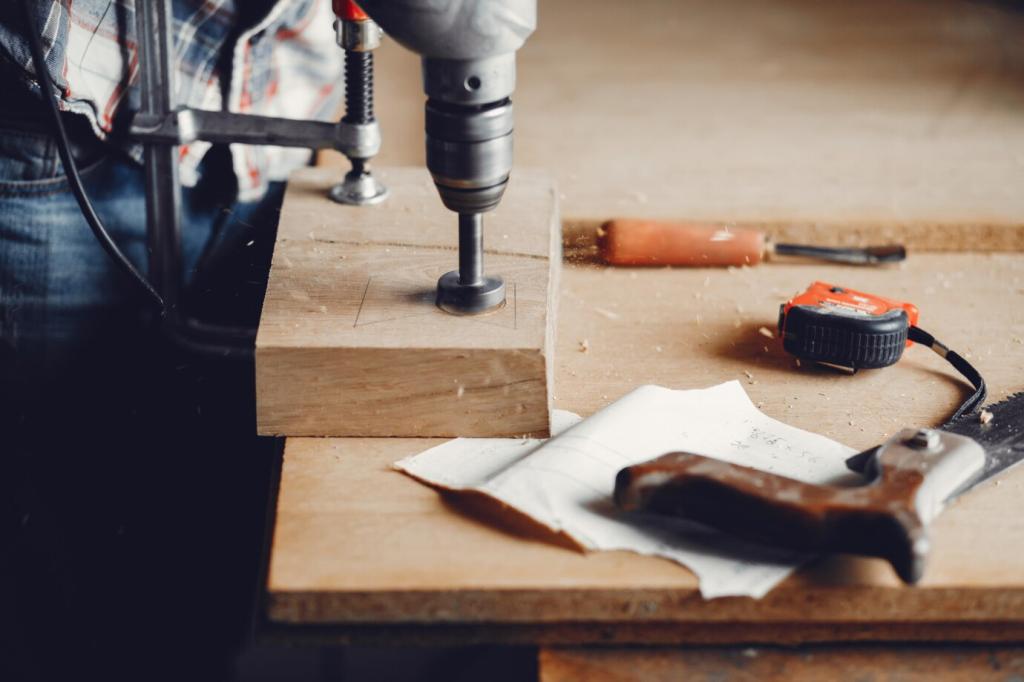
Prep Makes Perfect: Surfaces, Fit, and Clamping
Clean wood beats mystery residue
Strip away old glue, wax, and finish until you see clean wood. A snug, well‑fitting joint maximizes bonding area and strength. Degrease oily woods, avoid over‑sanding which rounds edges, and dry‑fit everything. Good prep turns an average adhesive into a rock‑solid repair you can trust.
Moisture content and temperature matter
Wood outside 6–10% moisture can sabotage adhesion, and cold shops slow or stall cures. Keep the room within the glue’s recommended temperature range. If your repairs happen in a garage or basement, warm the space, pre‑warm bottles, and give extra time for a dependable bond.
Dry‑fitting and clamping rehearsal
Lay out clamps, pads, and cauls before mixing or spreading adhesive. Practice the sequence, mark reference points, and protect surfaces from squeeze‑out. A fast rehearsal slashes stress during open time. Share your favorite clamping hacks—band clamps, webbing, or custom cauls—to help fellow fixers succeed.
Open Time, Clamp Time, Cure Time: Mastering the Clock
Open time, assembly time, clamp time, and full cure are not suggestions—they’re the rules for success. Temperature and humidity change these numbers, so treat labels as your map. When in doubt, allow extra clamp time, and test on scrap to confirm your process is dialed.
Finishes, Stains, and Invisible Repairs

Preventing glue from blocking stain
Glue squeeze‑out seals pores and causes blotches. Mask joint lines, prefinish hidden areas, and clean fresh PVA with a damp rag before it skins. Dried squeeze‑out scrapes better than smears. Share your stain‑safe cleanup routine so others can keep color consistent across old and new wood.
Choosing a glue color that disappears
Hide glue dries warm and sands clean; PVA dries yellow to clear; epoxy can be tinted with dyes or sanding dust. Color‑matching your adhesive where seams might telegraph helps hide the repair. Practice on scrap until you’re confident the glue line will vanish under finish.
Veneer, inlays, and delicate work
For veneering and inlays, select low‑creep adhesives and even clamping pressure. Hot hide glue enables hammer veneering and easy future adjustments. Vacuum pressing with the right adhesive yields ultra‑flat panels. Tell us what you use to tame bubbles and keep edges tight over time.
Safety, Storage, and Shelf Life
Ventilation, gloves, and skin safety
Epoxy and cyanoacrylate can irritate skin and lungs. Wear nitrile gloves, use good ventilation, and avoid sanding uncured residue. Mix small batches to control heat buildup. Share your safety checklist—your habits might keep another woodworker comfortable, healthy, and happily repairing for decades.
Shelf life and freshness tests
Old PVA can smell sour or string strangely; expired epoxy may crystallize or fail to cure. Hide glue that gels too quickly might be past its prime. Date your bottles, note performance, and discard questionable stock. Fresh adhesive beats heroics every time in furniture repair.
Storing glues for success
Seal containers tightly, avoid freezing PVAs, and keep adhesives away from direct sun. Store epoxies upright, label mix ratios, and keep hardeners capped. A small, climate‑steady cabinet extends life dramatically. Comment with your best storage tricks to keep glues ready whenever repairs call.
Stories from the Bench: Lessons Learned
An antique oak chair arrived with shiny PVA on every tenon and still rocked. We cleaned joints to bare wood and switched to hot hide glue. The repair tightened, creaked less, and remains reversible. Got a similar story? Share which glue finally settled a stubborn chair for you.
A tabletop blister begged for quick fixes, but rushing would scar the finish. We warmed the spot, injected liquid hide glue, and pressed with a caul overnight. The bubble vanished cleanly. Have you rescued veneer with a careful adhesive choice? Tell us how you paced the repair.
A laminated shelf glued with standard PVA slowly bowed under books. Rebuilding with a low‑creep adhesive solved it for good. Adhesive behavior over months matters as much as day‑one strength. Subscribe for more long‑term tests so your next repair stays straight, tight, and trustworthy.
Join our mailing list