Chosen theme: Drills: A Must-Have for Every Furniture Repair. Welcome to a hands-on, story-rich guide to mastering your drill so your furniture repairs are cleaner, faster, and built to last. Subscribe and share your drill questions to shape our next deep dives.
Why Drills Are the Backbone of Furniture Repair
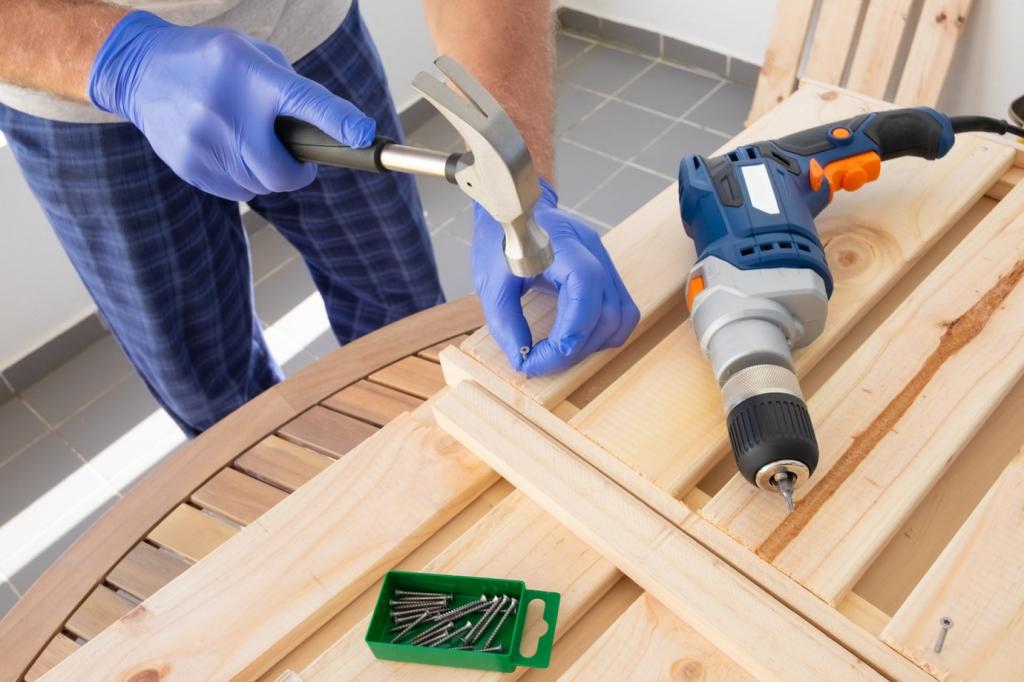
A versatile drill turns chaos into order: drill pilot holes to protect fragile fibers, back out stripped screws with extractors, and countersink fasteners so surfaces look seamless again. It is the single tool that rescues misaligned parts without butchering cherished wood.
Cordless drills shine for on-site fixes and tight corners, with modern batteries delivering surprising endurance. Corded models offer unwavering power for long sessions. For furniture repair, a lightweight 12V or 18V cordless drill/driver often balances portability and finesse beautifully.
Choosing the Right Drill for Furniture Work
Compact drill/drivers slip between chair rails and inside cabinets where larger tools cannot fit. Right-angle attachments or dedicated right-angle drills let you drill straight in impossible spaces. When spindles or stretchers block access, these nimble options are absolute lifesavers.
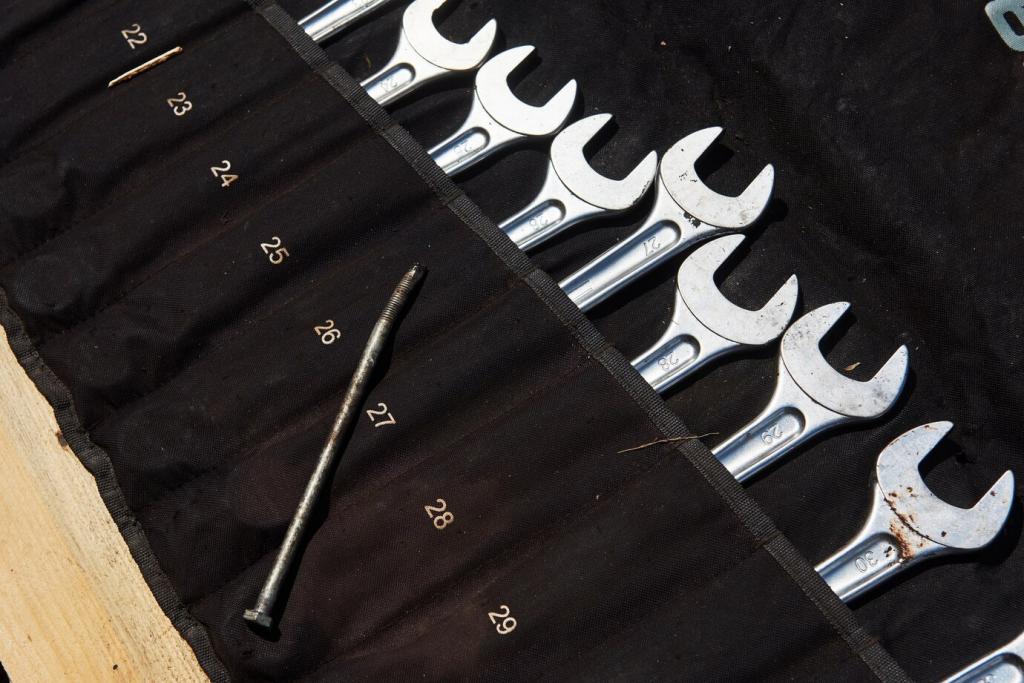
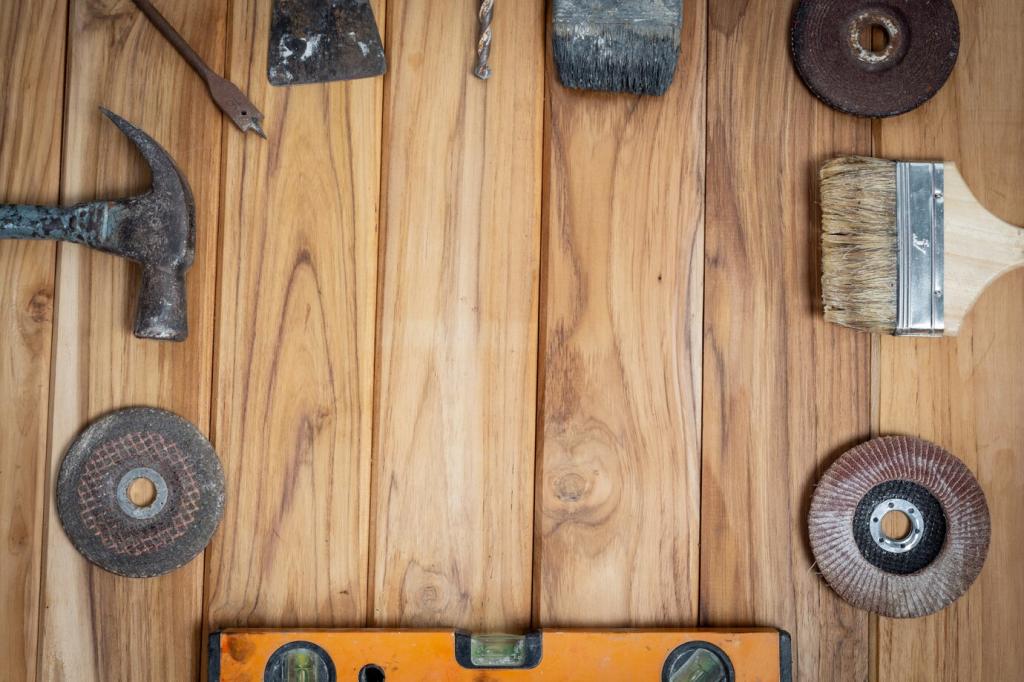
Drill Bits That Make or Break a Repair
Brad-point tips center exactly where you mark, reducing wander on hard grain. Their sharp spurs slice clean edges, minimizing tear-out. Whether drilling shelf pin holes or stretcher joints, brad-points deliver crisp accuracy that regular twist bits often struggle to match.
Always drill pilot holes sized to the screw’s core, especially in hardwoods. The pilot prevents splitting, reduces driving torque, and keeps alignment true. A quick test in scrap verifies fit, letting screws glide in smoothly and seat precisely without crushing fragile grain.
A doweling jig and brad-point bit ensure matching holes across broken joints. Dry-fit first, mark centerlines carefully, and drill to an exact depth with a stop collar. The result is a strong, nearly invisible joint that feels original and resists racking under everyday use.
Set your pocket-hole drill bit depth to match material thickness, clamp tightly, and drive with a controlled clutch. Choosing the correct screw length and thread keeps fragile frames safe. After assembly, plug the holes and sand flush for a clean, restoration-grade finish.
Precision and Safety Every Time
Use stop collars or a simple tape flag to guarantee consistent depth, especially for dowels and shelf pins. When possible, a drill press or guide block improves perpendicularity dramatically. These small precautions deliver factory-level alignment in delicate furniture components.
Care, Maintenance, and Community
Battery Habits and Chuck Care
Avoid fully depleting lithium batteries; store them partially charged. Occasionally clean the chuck jaws and lightly lubricate according to the manual. Check for dust buildup in vents, and inspect cords or housings so your trusted drill remains smooth, strong, and safe.
Diagnose Wobble and Bit Runout
If holes drift or look oversized, test runout by spinning a straight bit slowly and watching for wobble. Reseat the bit, clean the jaws, and try another bit. Persistent issues may indicate a worn chuck or bent accessory that needs replacement.
Share Your Drill Wins and Subscribe
Post your before-and-after furniture repairs, ask tough drilling questions, and suggest projects you want us to tackle next. Subscribe for fresh techniques, tool tests, and real stories that celebrate how a single reliable drill can rescue beloved pieces beautifully.